The Swisscom RA app is available to download in Google PlayStore for Android and App Store for iOS. Just search for Swisscom RA.
Preparation
In order to use the RA app for face-to-face identification, you must complete the RA agent basic e-learning. To gain access to the e-learning, you need to ask your responsible Master RA agent to assign the RA agent role to you.
Starting the RA App
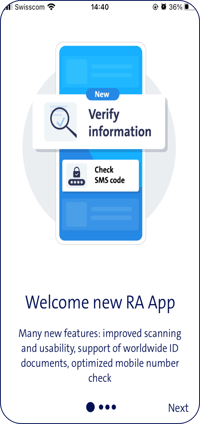
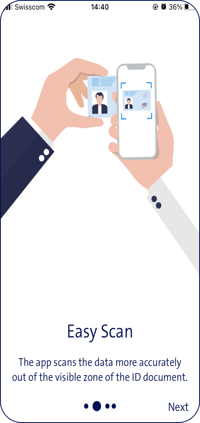
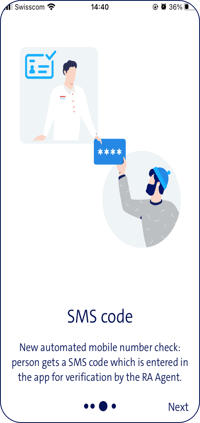
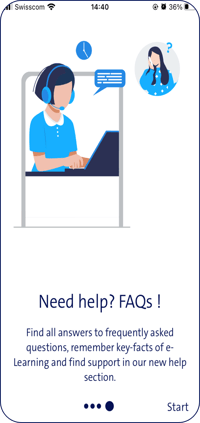
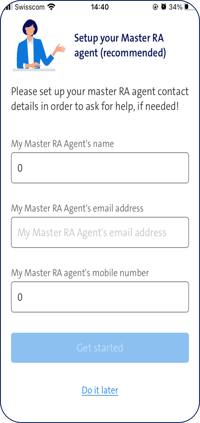
After downloading and starting the RA app for the first time, walk through the welcome screens and check out the new features. You may also enter the contact details of your Master RA agent in this process step.
RA app Login
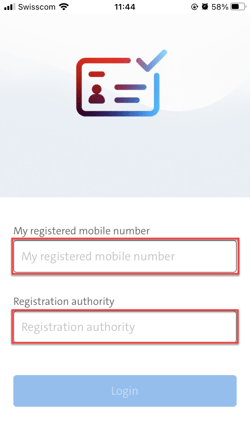
Log in with your RA agent credentials:
- your registered mobile number
- the name of your registration authority - you've received the name of the registration authority in a SMS after completing the RA agent basic e-learning
You confirm your login using either Mobile ID (App or SIM) or password and SMS code method (PWD/OTP)
If you have questions or issues with your login:
- Check the Login failed link in the app,
- Read our article important troubleshooting for Master and Standard RA agents
- Test your electronic signature on our Check Signature website. If the result is unsuccessful, you need to get re-identified and your Master RA agent need to re-assign the RA agent role to you.
- Check if you have the latest update of the RA app on your mobile phone
- Attention: For security reasons, the RA app won't start, if your mobile phone is "jailbroken"
Performing a successful identification with RA App
1. To start identification click in the plus sign
|

|
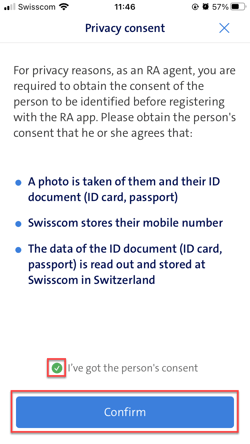
2. For data security reasons, get privacy consent of person to gather personal data
|
|
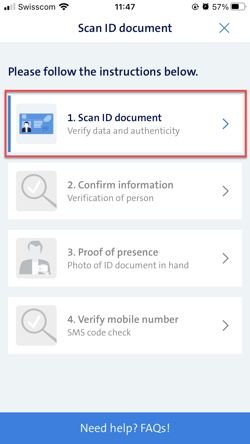
3. Click on Step 1 "Scan ID document"
|
|
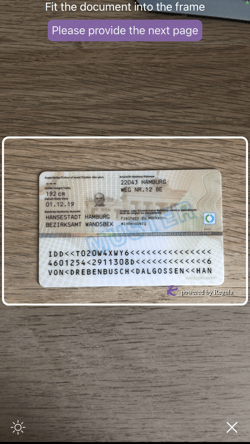
4. Scan presented ID document (ID card or passport)
Hint: Place the ID card so that it is completely displayed and not cut off. The card must completely fill the frame, the system will automatically crop the scan correctly. |
|
|
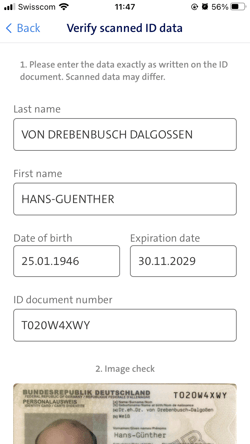
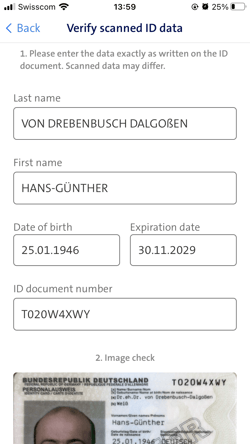
5. Check scanned ID data and correct if mistakes occur
|
Not OK
|
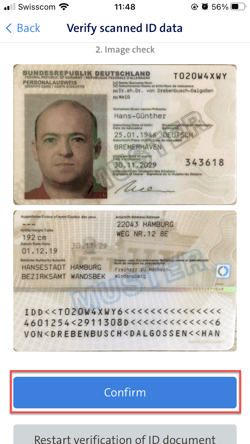
5a Check if the image of the ID document is in good quality
|
|
6. Check the authenticity of the presented ID document
|
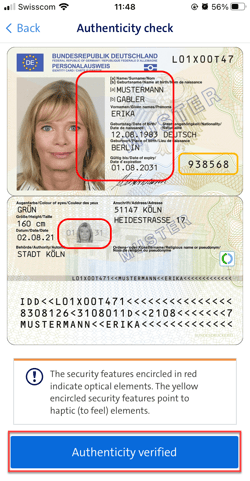
|
7. Click on Step 2 "Confirm information" |
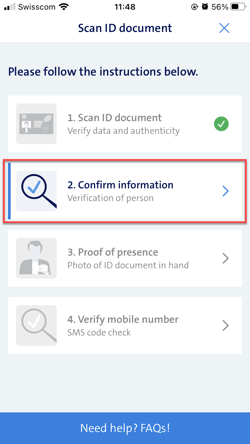
|
8. Show the summary of the ID data to the person and ask for correctness
|
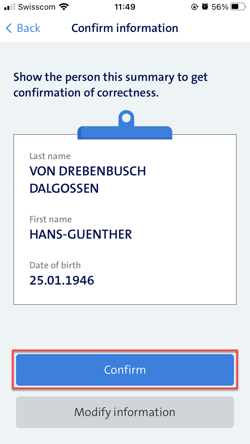
|
8a If information is incorrect, you can still edit the data by clicking into the respective fields |
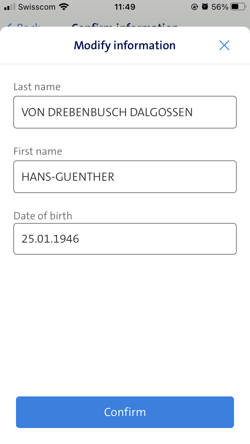
|
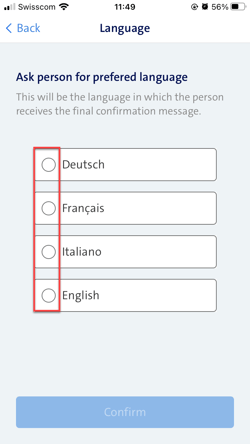
9. Select prefered language of identified person
|
|
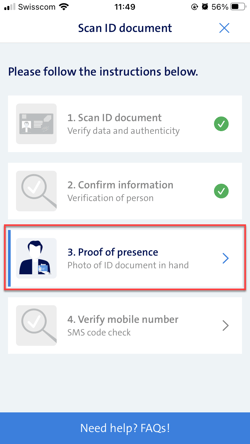
10. Click on step 3 "Proof of presence" |
|
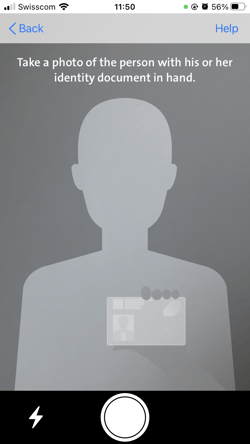
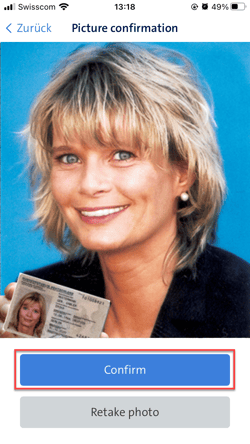
11. Take a picture of the person with their ID document in hand
|
|
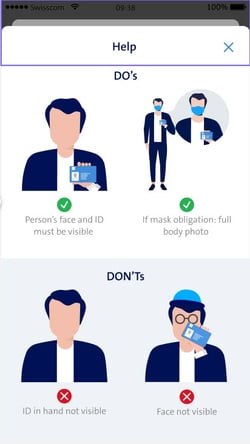
11a. If you need help how to take the picture just click on "Help" |
|
12. Check if the photo taken is in good quality
|
|
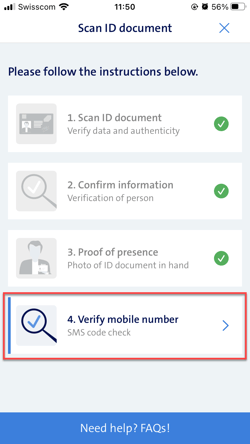
13. Click on Step 4 "Verify mobile number" |
|
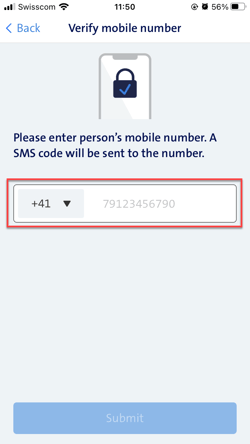
14. Enter the person's mobile number and click "submit" |
|
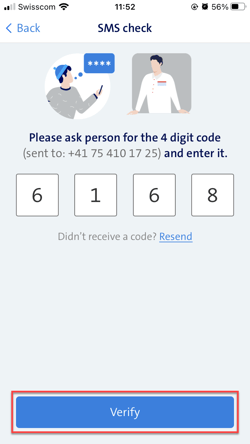
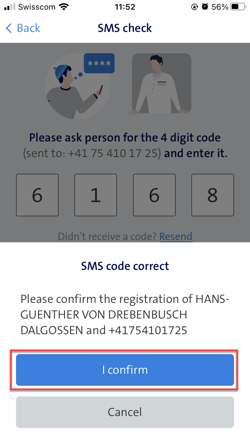
15. Enter the 4-digit code, which the person receives via SMS
|
|
16. Click on "I confirm" and use either Mobile ID (app or SIM) or the password and SMS code method (PWD/OTP) |
|
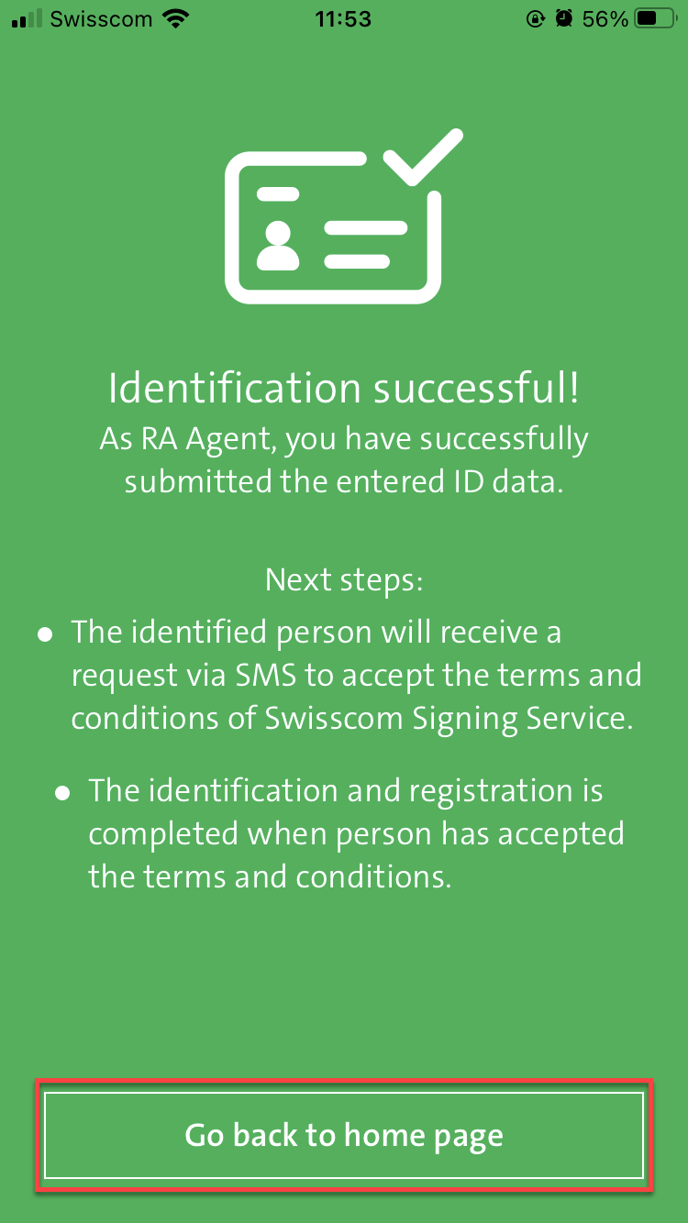
17. Identification successful
|
|
Attention: It is of utmost importance to handle the identification and registration process of a person with great care when using the RA app. Take your time and make sure to enter the correct ID information for the individual person. This is crucial for maintaining accuracy and security within the app. If any incorrect ID data is entered, it can cause a security incident and should be reported to our RA agency support.
Additional functionalities
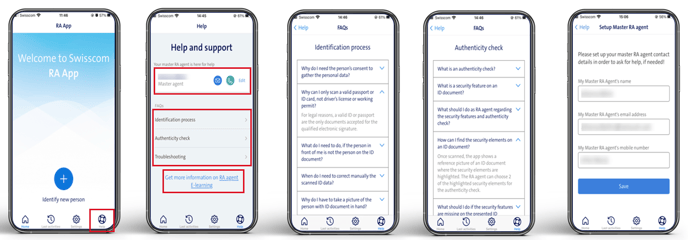
1. Help Section
There is a new help section available where you can enter the contact information of your Master RA Agent (in case you need support), get answers to frequently asked questions (FAQ) and find the link to the printout of the RA agent basic e-learning.
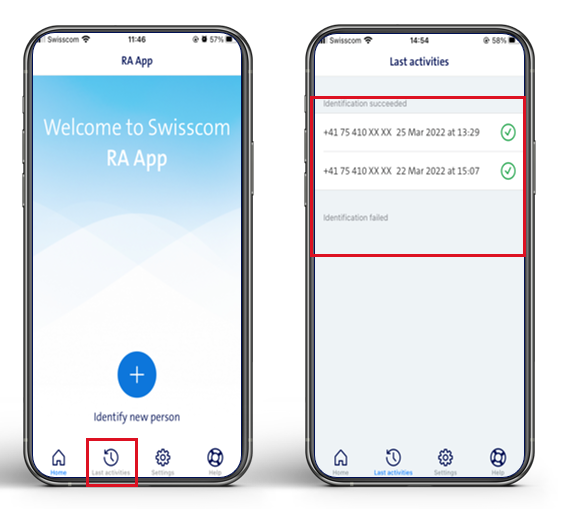
2. Last Activities
In the area of last activities, you will find your successful and failed identifications of people
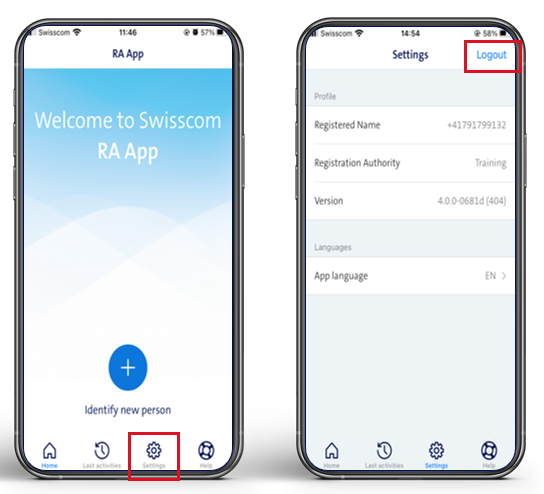
3. Settings
In the setting you can see your login data, current app version, change the app language. Here you can logout